

Recording drums is one of the most challenging tasks you face as a recording engineer. Even professionals find recording the drums a challenge. This article shows you five pitfalls to avoid if you want a great drum recording.
1. Having no set goal at the start
I’m speaking on behalf of all the producers/engineers out there. Have an end goal for your drum recording.
Before pressing record on the console, setting up any mics, or placing the kick drum in the live room, determine what you want the drums to sound like on a given record.
As a recording engineer, sometimes you’re tempted to use the same simple setup and make changes as the recording process continues.
Some producers and engineers use templates in their workflows. Ordinarily, there’s nothing wrong with that.
However, be mindful that there may not be a sonic goal in mind if you blindly work with a template and presets from other sessions.
Do your homework as a producer and take a listen to the productions of the given genre. Ask the musicians in the band their preferences as well.
You should have a general idea of the final result of the drum recording before you begin.
Having a predetermined sonic goal guides your recording process and keeps you in check, even while you get creative with your work.
Before you touch the transport bar, having a definite objective can guide your microphone selection, processing choices, and general setup process.
2. Wrong mic choice
The drum set is one instrument with parts that make distinctly different sounds.
These sounds make up almost the whole of the frequency spectrum: from the low-frequency boom of the kick drum to the high-frequency sizzle of the hi-hat. Each instrument in the drum set has its sweet spot in the frequency spectrum.
Specific microphones fit different drums better. For example, if you mic a hi-hat with a microphone that is better suited for a bass drum, you may not get enough high end as you may need in the sound.
This frequency response is one of the many features of a mic that you must consider.
Hi-hat microphones are typically small condenser microphones, like the Neumann KM184. If budget is of concern, a more affordable choice is the Shure SM81.
One thing that must be common to all drum mics is a high maximum SPL; anything else and you’d be having lots of distortion and clipping in your sound.
When you have that sorted, the next thing is to figure out which mic goes on what part of the drums. Even if you have a general knowledge of drum miking, you still need to know the details of the genre you’re working on at the moment.
There is lots of debate in the audio community regarding which mics to use on which drums, but I’ll lay out my favorites for the studio below:
Snare drum: Shure SM57 or Audix i5
Bass drum: Shure Beta 52 or Audix D6
Tom drums: Sennheiser MD 421-II
Overheads: Neumann KM-184s or Neumann U87s
Room mics: Coles 4038s
If you’re new to drum recording, consider checking out some of the drum microphone packs we’ve taken a look at. We’ll help you weed out the good from the bad.
3. Confusing studio drum miking with live drum miking
Miking techniques are almost as important as the recording process. I regard the mic setup process as part and parcel of the recording process and approach it as such.
The two significant kinds of drum setups that an audio engineer utilizes are the live performance setup and studio recording setup.
For a live performance, there are fewer variables to impact the sound (unless the show is being multi-tracked). One of such is room sound capturing.
On some occasions, audio engineers would have mics for individual drum parts, and also have one or two mics that capture the room ambiance while recording in the studio.
Unless in some rare situations, room ambiance is rarely captured for drums in live performance situations, because the audience is already in the room.
Also, while utilizing wedge monitors for the drummer in live situations, a studio recording requires the drummer to use a pair of isolation headphones or in-ear monitors.
4. Wrong microphone placement
You may get all your microphone choices right and still make mistakes while positioning them.
Wrong mic placement can occur in two ways:
- One is the distance of the mic from the drum surface.
- The other is the angle of placement.
Some drum mics minimize the possibilities of making this mistake. Clip-on microphones, like the Sennheiser e604, minimize effort when placing the microphones. The mics clip on to the drum’s metal rim.
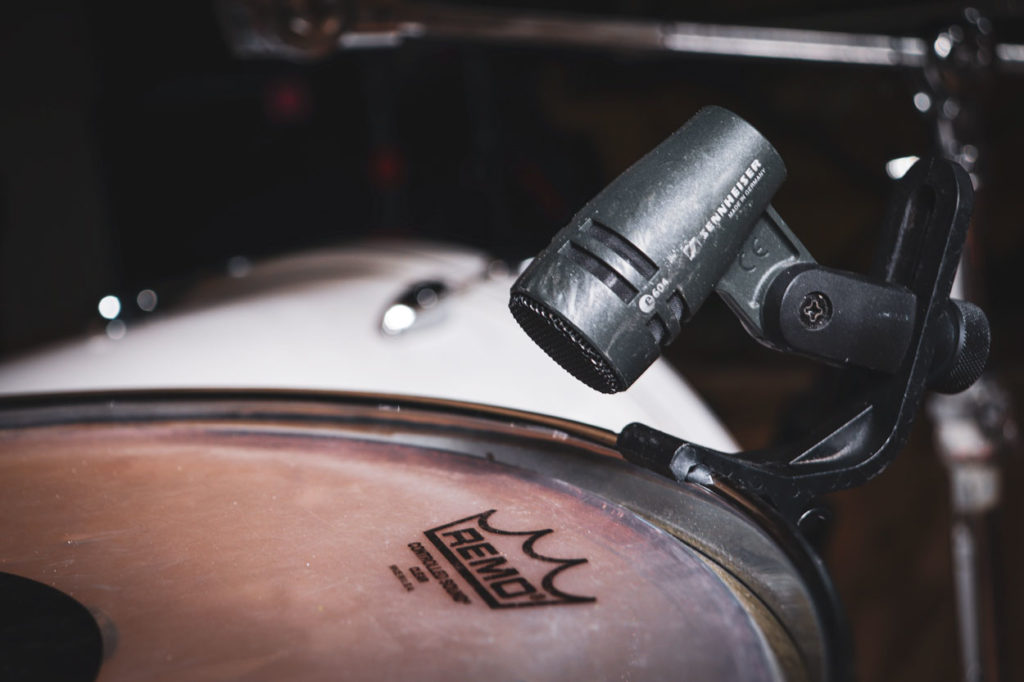
The manufacturers of clip-on microphones take correct measurements into account while making them, so the only issue you’ll deal with is the angle. These kinds of mics limit your freedom one way or another.
Most times, we’re tempted to do close miking and fix any problems during the mixing stage. While this may save you some time when recording, you may later regret this decision, and by then the drummer is long gone.
Depending on the sound you’re going for, the distance of the mic from the drum surface varies. For a thinner and brighter sound, the mic should have an angle closer to the head. For a warmer tone, position the microphone at the center of the drum.
Close miking, in combination with far miking in a studio setting, makes for modern drum production. Resonant frequencies (especially on the snare drum) can often be an issue, but products like Moongel and Snareweight help combat this issue without the use of EQ.
Music from the 60s and 70s often used close miking and overheads exclusively with extremely muffled and dead-sounding drums.
Many popular indie rock bands favor the sound of the room and often have massive and ambient sounding drum recordings. Heavily compressed room microphones are a favorite sound of mine.
5. Not tuning the drums
Even if you have the most excellent microphones in the world at your disposal, having bad tone in equals bad tone out.
If your drums sound unsatisfactory to your ear when you play out in the room, don’t make another move in the recording process. Poor tuning is one of the most significant factors that contribute to a bad sounding recording.
Even though I am a drummer and have my taste with the tone of my drums, I still hand it over to the recording engineer to guide me as we devise a tone that works with the mics, room, and the record.
I have worked with many engineers who swear by drum tuners. A favorite of mine is the Tunebot Studio from Overtone labs. It’s the most accurate digital tuner I’ve found in my experience. I used to use the DrumDial, but find the Tunebot to work better overall.
Some people believe that you should tune the drums to the key of the song to avoid dissonance.
If you don’t know where to start, be sure to read my guide on how to tune a drum set.
The major issue?
There are multiple keys used on albums. I like to find a suitable tuning for all the songs and roll with it. Having a consistent sound throughout the entirety of the album is essential to my process.
Toms are easily the biggest offenders, given they have the most audible and noticeable pitch to them. Use your judgment: if something sounds out of place on the recording, ask the drummer to change up the tuning (or better yet, change it for them).
Bring new heads to a session
I advise all drummers heading to a recording session to change out those old heads. Some recording engineers refuse to start the session until you change up the heads on your kit.
Using new drum heads on a recording is essential. I challenge you to find me one example of an engineer requesting to use old drums heads for a modern recording.
Wrapping up
Recording drums is difficult. There are many problems one can face, whether it’s phase, placement, noise, poor mics, or lack of vision. Relax if you’re new and soak all the information in; there’s a lot you’ll learn.
Think of the 10,000-hour rule. You won’t master recording drums overnight. It’s a process that takes years, and even then, learning occurs as you develop as a professional engineer.
I hope this article helps you with your drum recording. Let me know if you have any questions or comments down below! Thanks for reading.