We may earn a commission from the affiliate links on this site. Learn more›
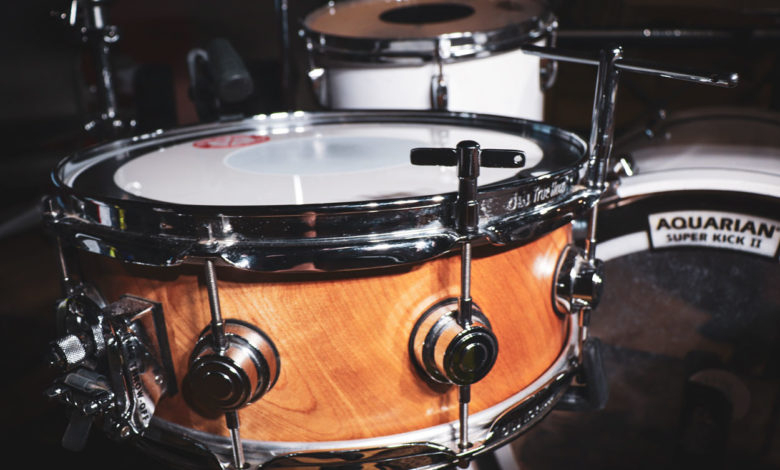
So you’ve got your brand new drum set all unboxed and set up. You’ve laid the first strike with your sticks, and it sounds terrible.
Well, not to worry, as I’ve got you covered in this one-stop guide on how to tune a drum set. Ready to get tuning? Read on.
The techniques and practices mentioned apply to all drums on the kit. Even though I’ll only say it once, use the methods below for each drum (snare, toms, bass drum).
Before diving into tuning drums, I’ll first explain why and how to change your drum heads. If you aren’t changing drum heads this time around, feel free to skip to step 4.
How to Tune a Drum Kit – TL;DR
If you’re looking for a quick ‘n dirty approach to tuning a drum set, look no further. For more detail, be sure to read on after checking out each of these steps below.
- Remove the top and bottom heads with your drum key.
- Fit a new head on the bearing edge and screw the tension rods back in with the
counterhoop . - Tighten each tension rod with your drum key a half turn. Work across the drum tightening the rod opposite to the one you’re on.
- Fine-tune the drum by lightly placing your index finger in the center of the head and tapping around the drum one inch from the rim. Adjust to pitch.
- Repeat for each drum head on your kit.
1) Remove The top and bottom heads
You may be thinking to yourself, “hey, the heads are already on the kit! Why should I remove them?” Well, in this situation since you are learning, it’s a good practice to remove both the heads to instill the techniques taught.
To remove the top and bottom drum heads, use the provided drum key to unscrew each tension rod on both sides of the drum.
Pro tip: use two drum keys or the DW Drill Bit to remove drum heads faster.
Now, not everyone follows this, but I like to make sure that I keep the same tension rod paired with the same lug. I feel it is better for the threads, allowing your hardware to last longer.
Remove the counterhoop with the tension rods still in the holes and set it next to the drum shell; this is the easiest way I’ve found to keep them together.
2) Clean and wax (optional) the bearing edge
If your drum set is brand new, you can skip this step, but it’s still a good idea to get used to cleaning the bearing edge.
The bearing edge is the sharp point where the drum shell meets the head.
With both the top and bottom counterhoops removed, take a soft towel and wipe down the bearing edge and the inside of the shell (especially if you bought your kit used).
Get used to this habit, as you’ll want to do this whenever you change your drum heads out (I recommend every three months).
The batter head (top) is more important to change than the resonant head (bottom), so you can wait longer to change the reso heads (once every few years for beginning drummers).
I usually also wipe a small amount of paraffin wax on the bearing edge to help the head sit better.
This step is optional, but give it a shot if you have some lying around. For more helpful pointers, be sure to read my guide on drum maintenance.
3) Seat the new drum head(s)
Take your new drum head and seat it on the bearing edge. Remembering where which tension rods fit, sit the counterhoop and rods back onto the drum.
Use your fingers and tighten each tension rod back into their respective lugs. Turn the rods until they are finger tight. Take this process slowly, as getting more even tension during this stage helps the tuning process as you go.
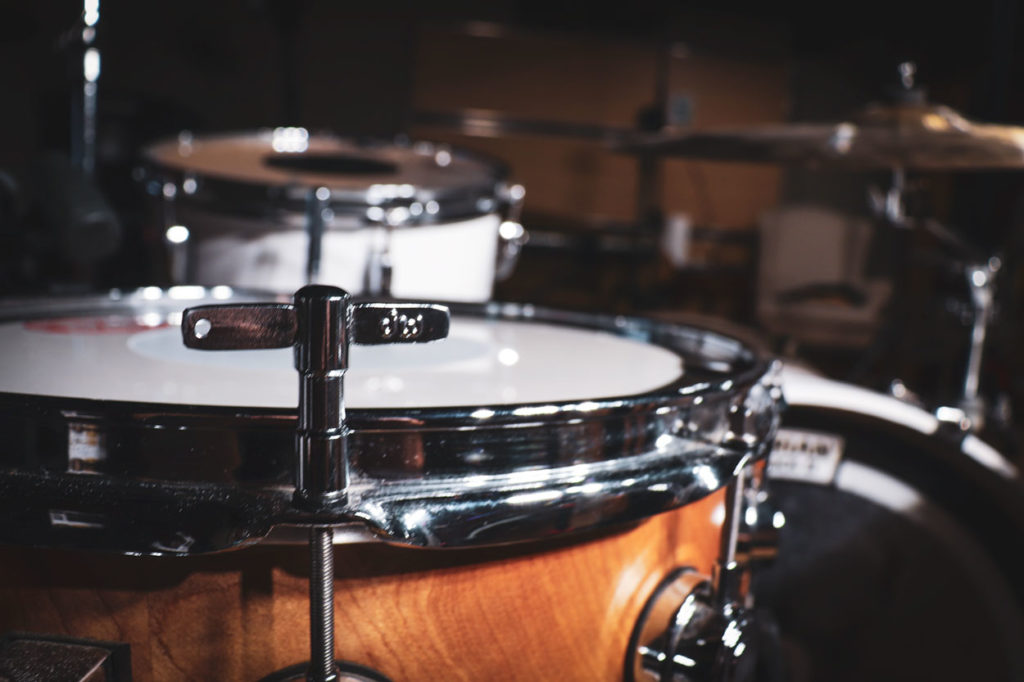
4) Tune the drum to low-to-medium tension
Find your drum key and turn each tension rod a half turn. I like to start at the bottom-most lug and move my way around tightening opposite tension rods.
For example, imagine an analog clock. Begin your tuning at 6 o’clock and move up to 12 o’clock. Repeat this process until the head has low-to-medium tension. Feel free to tap the center of the drum to get an idea of the tone as you tune.

Share this info-graphic on your website
Please use attribution: Info-graphic provided by DrummingReview.com. Copy the code below and paste in raw HTML.
As you move around the drum getting it to tension, you may notice that some tension rods become loose as you tighten others.
This phenomenon is perfectly normal; you aren’t going mad. Be aware as you tune the drum up and as you practice, you’ll begin to compensate for the loss of tension on these rods.
It’s up to you to decide what type of tone you’d like.
5) Decide on a “style” of tuning
There is no one way to tune a drum. I’ve heard of session drummers who tune an entire tension rod loose for the sound while working in the studio. If you like the sound, go for it.
However, as a beginner, it is crucial to pick a style to aim for when tuning. Not only will you have a tuning goal in mind, but you’ll gain experience tuning to different styles.
Rock drums often are tuned lower, giving more punchy and deep tones. Styles like jazz and hip-hop (with acoustic drums, that is) use higher-pitched drums, especially in the toms.
If you’re unsure of which style to pick, aim for medium tension on each drum.
Pro tip: If you’re putting on new heads, I suggest cranking them up high and playing them for a few hours to allow the heads to stretch. Retune the drums after you’ve broken them in.
6) Fine-tune the drum
There are many schools of thought when it comes to fine-tuning, but I think mine is entirely accurate for tuning by ear.
Once the drum is up to tension, tap around the drum about one inch from the counterhoop. Listen for the differences in pitch as you go around.
Now you could begin fine-tuning at this stage, but there’s one more step in my process. Take your index finger of the hand opposite of tuning and press lightly on the center of the head.
With your other hand, either tap with a finger or a stick and fine-tune each tension rod to match each other.
Switch off listening to the pitches of each tension point with and without pressing your finger to the head. You can get far more accurate results with this technique in my experience.
Once all of the tension rods are in tune, your top head should have a longer sustain and resonate much longer than when it was out of tune.
7) Tune the resonant head
There isn’t an order to follow regarding which head to tune first, but let’s talk about tuning the resonant head (bottom).
The resonant heads play a significant role in the tone of your drums overall. There are three ways you can tune your bottom drum head:
- Resonant head at a higher pitch than the batter head
- Resonant head a the same pitch as the batter head
- Resonant head at a lower pitch than the batter head
Tuning the resonant head to a higher pitch than the batter
Generally, the higher-pitched the bottom head is, the more resonance a drum has.
I like to have my resonant heads pitched higher than my batter head. I think toms sound fuller and warmer. There is one issue: the drums have a higher pitch with this style.
It’s tough to tune the resonant head of the floor tom higher and still achieve that bombastic tom sound we all know and love.
I’m willing to trade this off, as the sustain of the drums is far longer when tuning the resos higher and has more of a perceived pitch. I love drums that can sing.
Tuning the resonant head to the same pitch as the batter head
This tuning method allows for the most resonance out of a drum, since both heads are vibrating in unison with each other.
Achieving perfect resonance requires picking a pitch that is in tune with the shell itself, but that’s another discussion and beginners should not be concerned with the pitch of a given drum shell.
Tuning the resonant head to the same pitch as the batter is arguably the hardest style of drum tuning and should only be utilized by experienced drummers with great ears or those who use a digital drum tuner.
Tuning the resonant head lower than the batter head
Have you ever heard the phrase “fat-sounding drums.” Tuning the resonant head lower achieves just that: big, grandiose, larger-than-life drums.
The drum has much less resonance and sustain, but makes up for it in the sound. Tom drums are often tuned this way in rock music, as it allows for a lower-pitched drum that sounds massive.
With that in mind, if you crank the batter heads up on the toms with low-tuned resonant heads, you’ll get a result similar to what you’d hear in jazz and bop music.
8) Mind the intervals on the toms
There’s no hard rule on what intervals to tune your toms to, but I like to use the minor third, fourths, fifths, or even octaves. It all depends on your taste at the time.
An interval in music is the distance between two notes. For example, a floor tom pitched at an E might work well with a rack tom tuned to a G. This would be a minor third.
For further reading, don’t miss my guide on mastering the art of tuning floor toms.
Consider using a high tension drum key
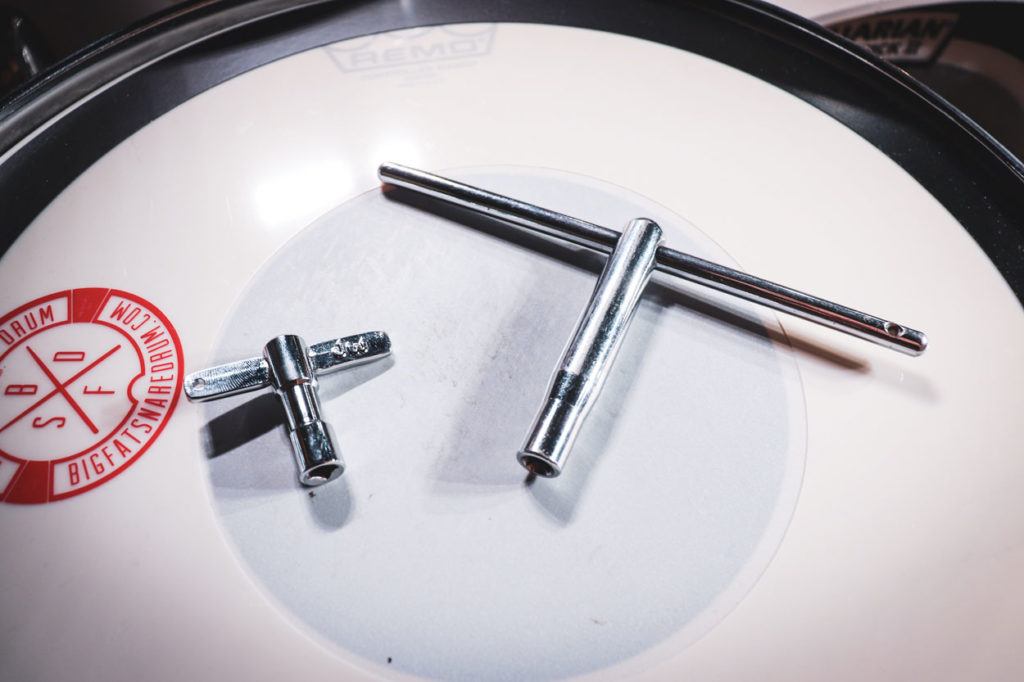
When I was in high school and college, I marched tenor drums and the snare drum. These types of drums have kevlar heads that are tuned to high tension levels. Thus, a high-tension key is required.
T keys, or high tension drum keys, are also useful for tuning regular drums. I love how large the key is and it fits nice at the top of my stick bag. Pearl sells an awesome T key that is relatively cheap.
Conclusion
No matter which way you decide to tune your drums, get ready for a lot of trial and error.
Tuning the drums is one of the hardest parts of being a drummer. It’s especially tricky if you’re trying to tune with other musicians in the room hacking.
Experimentation is something I encourage you to do while learning to tune the drums. Every drummer has a different taste, and you will too with time.
If you’re struggling to try to wrap your head around tuning or have a problem perceiving the pitches at each lug point, you may want to try using a digital drum tuner like the Tunebot Studio. I used to use the DrumDial, but haven’t looked back since using the Tunebot.
I don’t exclusively use drum tuners, but they are a helpful tool, especially if you want to get back to a tuning you used prior.
If you’re still having trouble, try these tips to make your drum set sound better!
Have you tuned drums before? Have questions? Be sure to leave me a comment down below. Thanks for reading!