
We may earn a commission from the affiliate links on this site. Learn more›
Setting up a drum kit can be one of the most intimidating tasks a new player will face. Assembly of all the parts and pieces can be a little daunting if you’re not handy.
Also, the arrangement of each piece is equally as important. There are shells, stands, cymbals, and pedals that all need to be in the correct location.
While there is no “correct setup,” as drummers have different tastes in drum placement, this article will focus on setting up a basic five-piece drum set from which you can expand on if you’d like to get creative later on.
So let’s get into setting up your first drum set!
1) Unbox your drums
If they’re not already, unbox the drums. If you bought them used, there would be less assembly required.
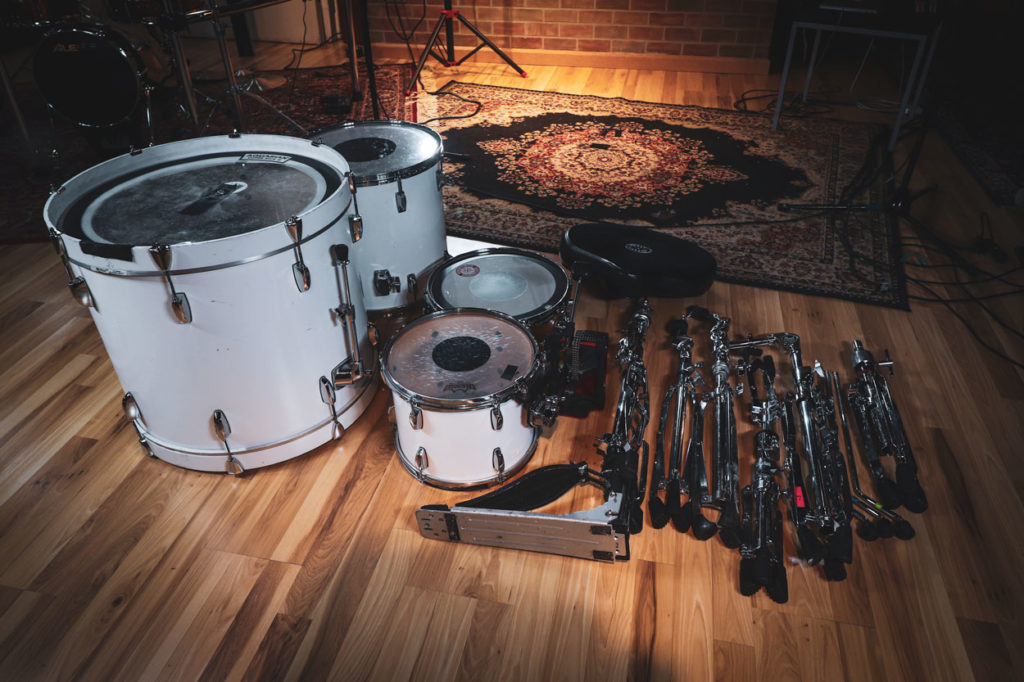
Most drum sets purchased new should come with drum heads pre-installed. Stay organized in unpacking and pick a space near where you want to set up the drum set if possible. I like to lay everything out on the floor in as orderly of a fashion as possible.
Be sure to identify and find the drum key, as you’ll be using it shortly.
2) Find a location for your drum set
When your drum set is set up, you probably won’t be moving it often. Find a spot where your kit can live permanently to minimize the time-consuming task of moving a drum set.
Be mindful of those you live with, as well. Consider placing the kit in the basement or away from bedrooms, as drums are a loud instrument.
If you live in an shared living space, be sure to take a minute and read my article on how to play drums in an apartment.
3) Lay down an old rug if you have one
Drummers and rugs go hand in hand.

Why use one?
Drum rugs or mats help stop your bass drum from sliding forward and also protect the flooring under your kit from the spikey spurs that dig into the ground from the bass drum and pedals.
If you don’t have a rug to use, take a run down to your local retail store and pick up a cheap rug for $20.
4) Assemble and position the throne
The drum throne is the seat of your drum kit. If your set is new and came with instructions, follow the diagrams to find the correct hardware and assemble the throne. There should be two pieces that fit together with tightening a wingnut.
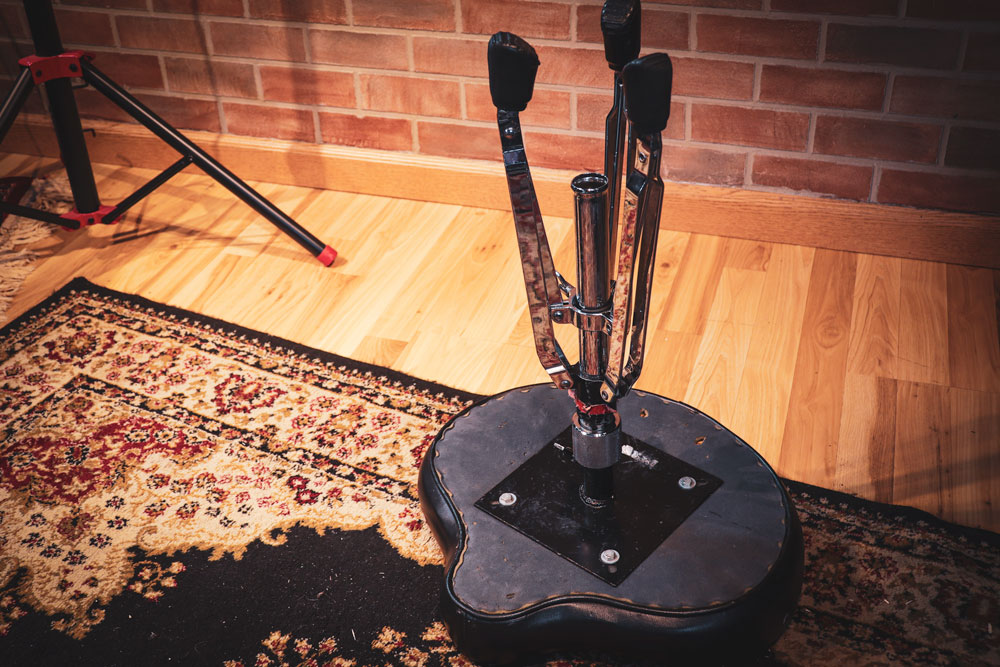
Pro tip: place the throne top upside down and insert the metal hardware into the bottom of the throne. Tighten down on the wingnut.
Place the throne near the edge of the rug in the middle. By spinning the top of the seat, you can change the height. For now, leave it be, as you can adjust the height later when all the drums are in place.
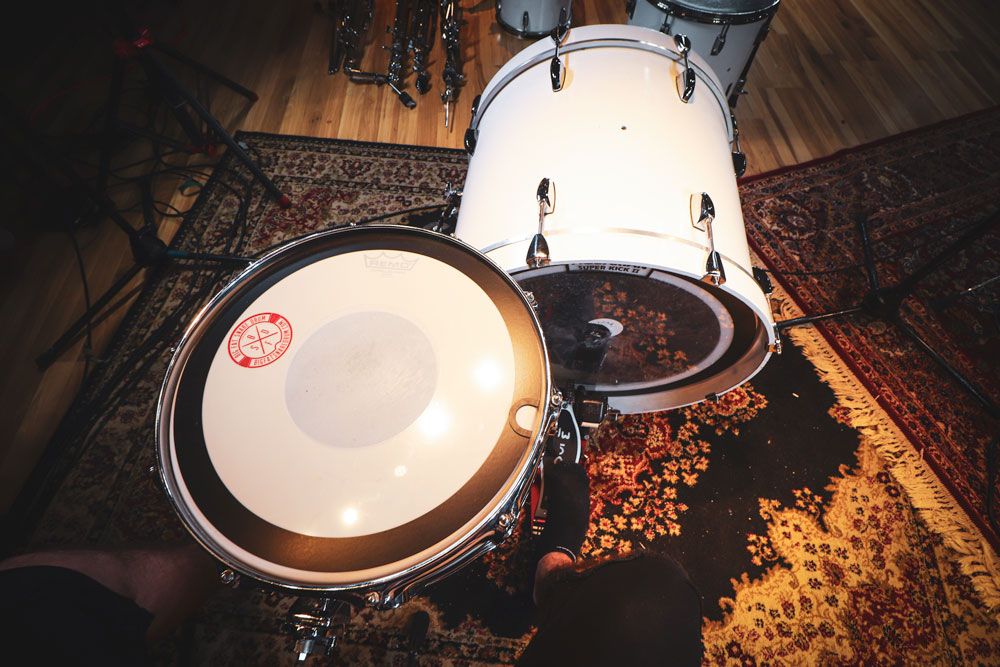
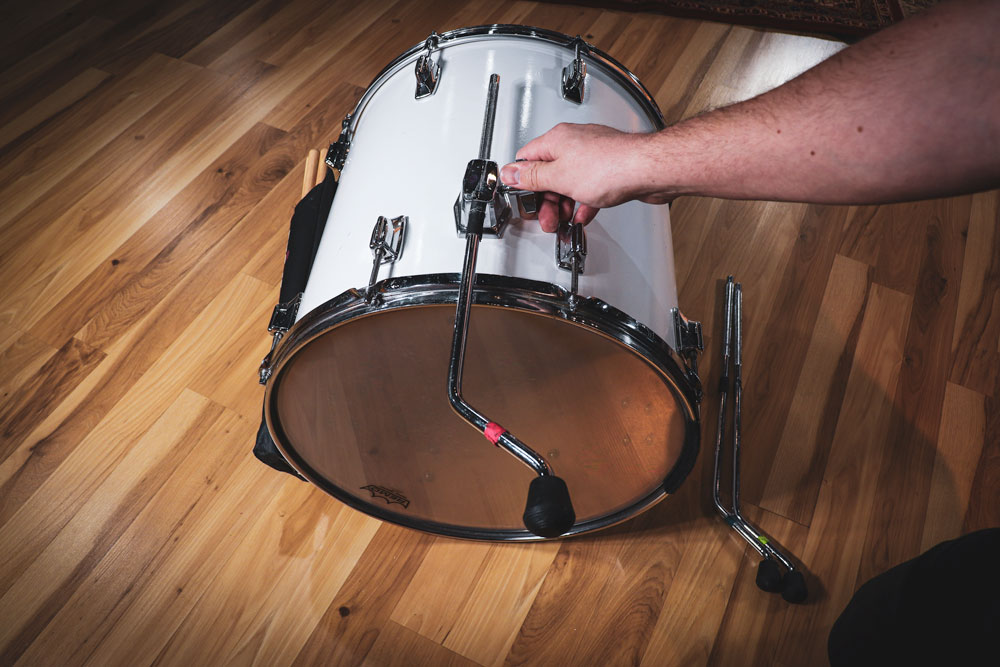
5) Grab the kick drum
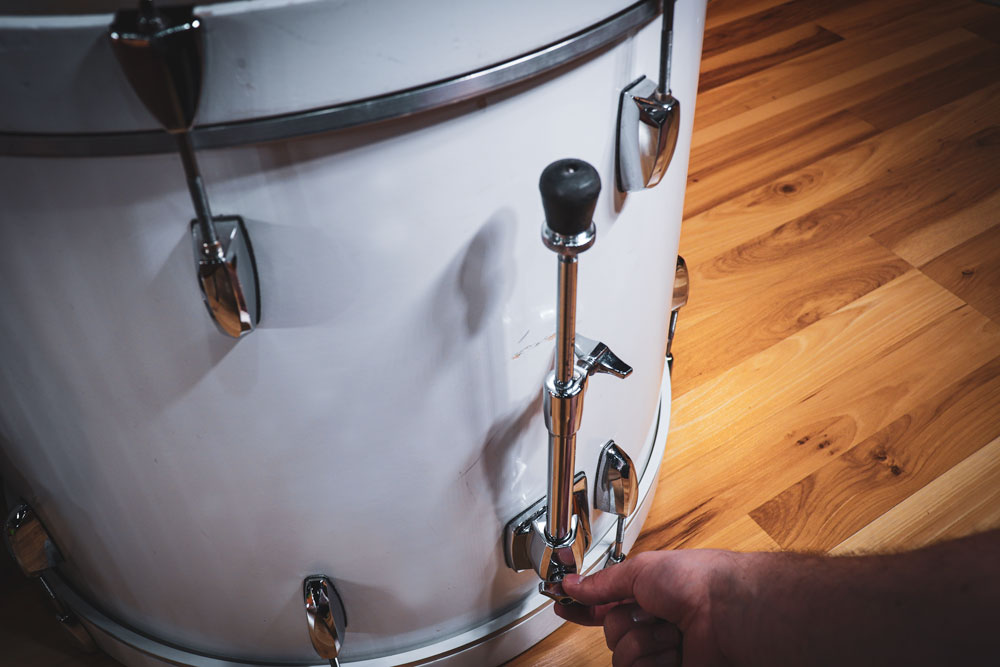
The kick drum (or bass drum) is the largest of the five-piece. On the bass drum are two pieces of hardware known as spurs. Unscrew the wingnut on each and lower the legs, so they are flush with the ground. Retighten the wingnuts.
Place it in front of the throne perpendicular to your dominant leg (the leg that will be playing the kick). If you play left-handed, the images would be mirrored to what you see here.
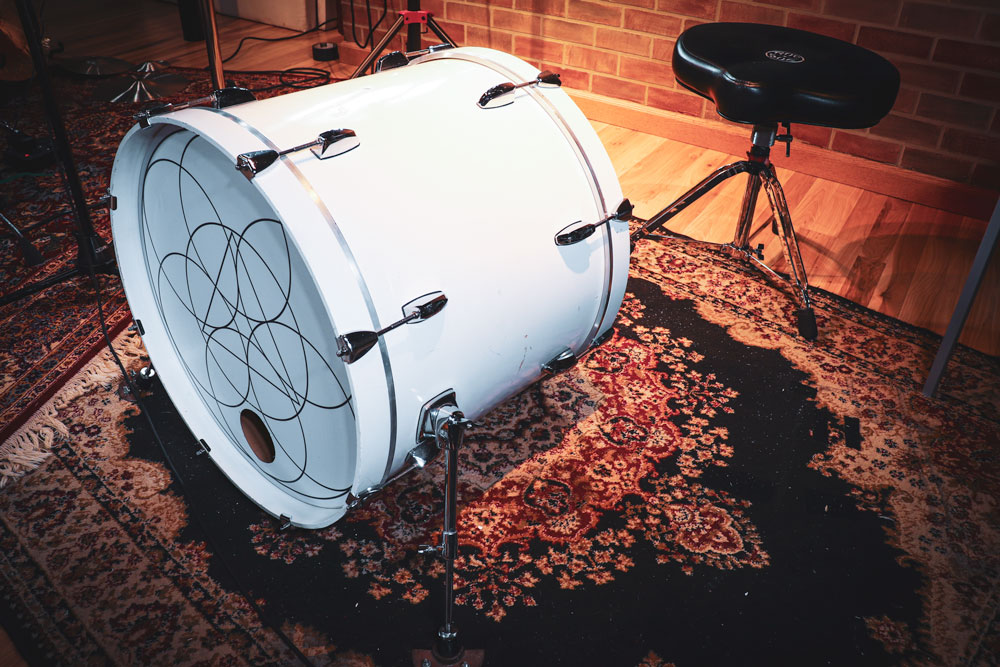
From where I sit, the front of the bass drum measures around 30″ from the back of my throne. This number will vary, as everyone is different. I like to keep my legs at 90 degrees so that I’m not straining myself to use the pedals.
6) Grab your kick pedal
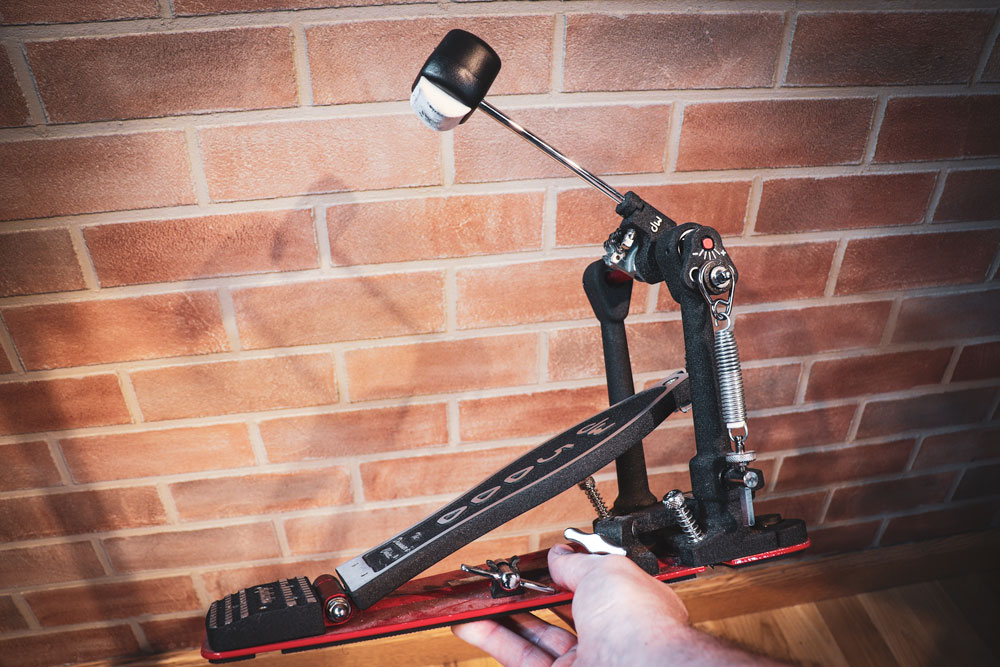
If not already pre-assembled, you’ll need to insert the beater into the small hole near the top of the pedal assembly. Next to the hole is a square screw. Using the provided drum key, tighten down the beater, so it is snug.
The kick drum pedal attaches to the bass drum rim at the bottom. There is a small clamp with a spinning knob that tightens down on the edge.
Pro tip: use a small piece of rubber (provided that the pedal doesn’t have it already) in between the rim and the clamp to protect your drum’s edge.
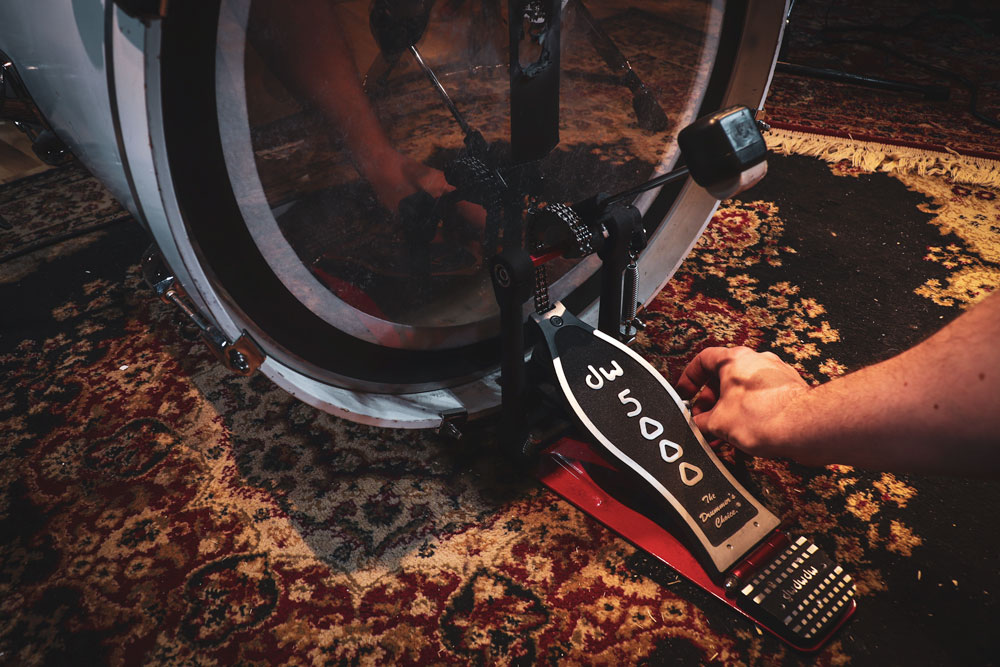
The pedal should lay completely flat. If for some reason it pushes up on an angle, re-seat the pedal to lay flat and try clamping it again.
Once attached, grab your drum key once again and position the beater to as close to the center of the drum as possible. This time, tighten down on the square screw a bit more, keeping it in place.
Try the kick pedal out to make sure it works!
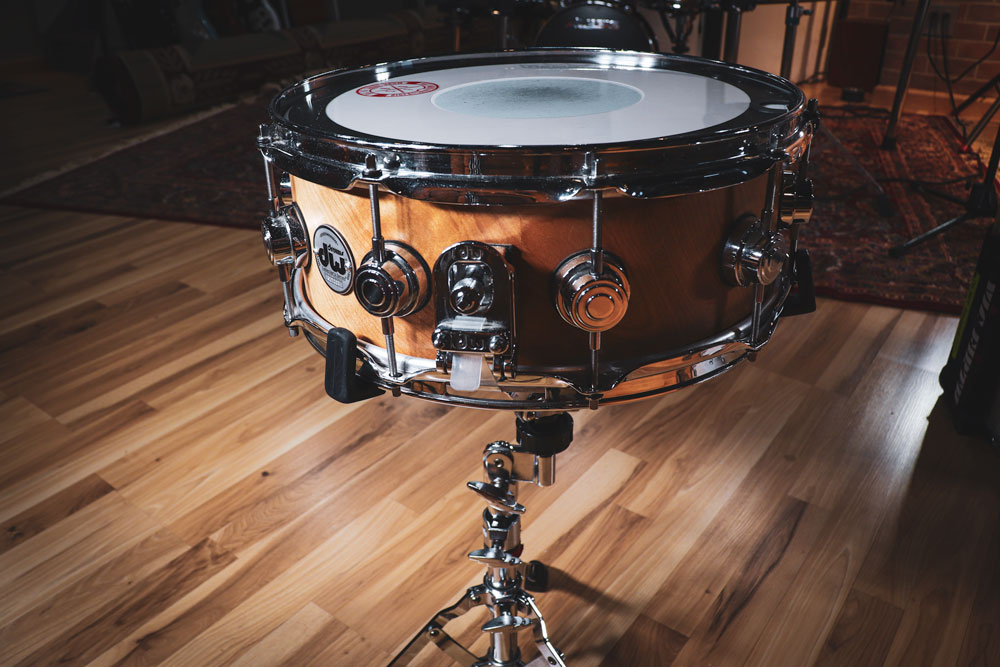
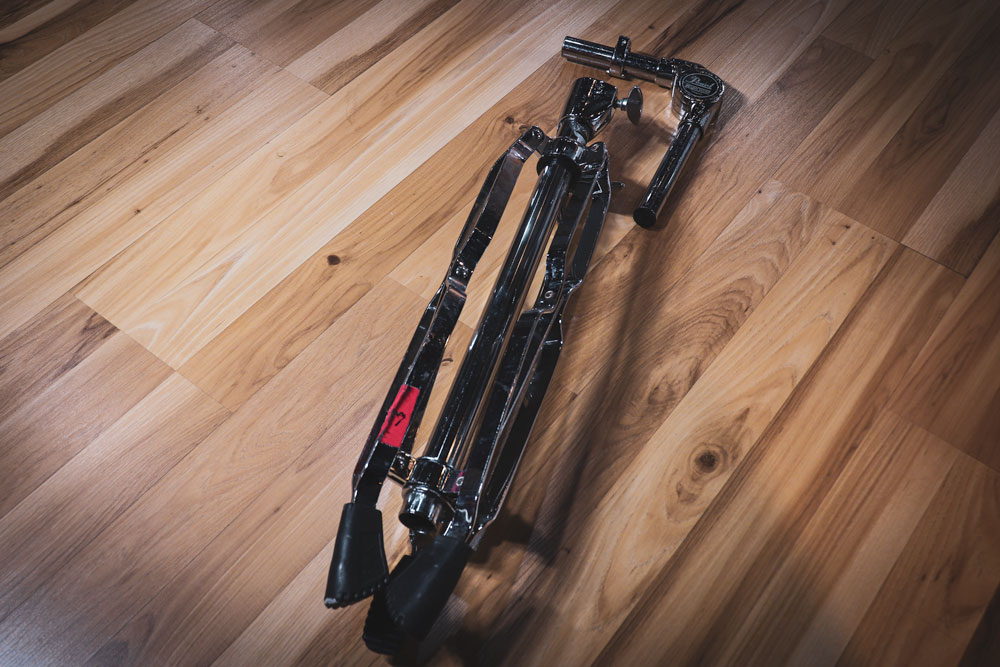
7) Locate the snare drum and stand

Using the provided guide, find your snare drum and its stand. The stand has three main adjustments that need to be made to hold the drum properly.
First, loosen the wingnut at the bottom of the stand, allowing the legs of the stand to open up. If this seems complicated, a trick I’ve found is to place my foot on the bottom leg on the floor, while opening up the two others with my hands.

Tighten the wingnut when the legs are open. Your stand should now be able to stand free on the floor.
Next is the height adjustment. The middle wingnut on the stand adjusts how tall your snare will sit. Ignore this for now and identify the piece near the top that spins.
Adjusting the spinning nut will allow the three sides of the snare basket to open up. Once loose, lower these three sides and the basket should be flat.
Place your snare drum with the snare strands towards the floor into the basket. Adjust the placement, so the snare mechanisms aren’t directly lined up to the three sides of the snare basket.
Once seated, tighten up the spinning screw, so the drum is snug, but not constricted.
Place the snare drum in front of you when sitting on your throne. I like to have the snare between my two legs; this is the most common way drummers set up their snare drums.
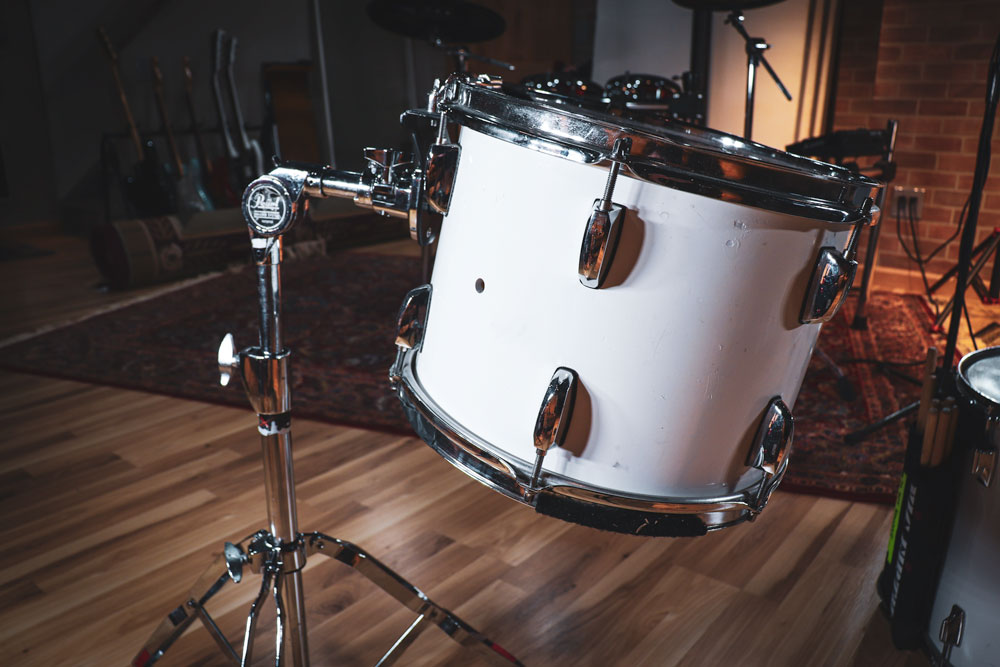
8) Grab the one or two rack tom drums
If your kit is a four-piece, you’ll only have one rack tom drum.
Rack tom drums can attach to the bass drum, float freely on a snare stand, or attach to a cymbal stand with hardware.
My kit, for example, utilizes Pearl’s old free-floating rim design. I have a separate stand that holds my tom drums.
Your mileage will vary, but for this example, the tom drums attach to the kick drum in the center with metal hardware.
Locate the tom arms; these pieces of hardware should resemble an L shape. Insert these arms into the top part of the kick drum. Tighten up the wingnuts and grab your tom drums.
On your tom drums are small holes with wingnuts. The smaller tom should fit onto the left L arm and vice versa. Tighten up the wingnuts and adjust heights, so the toms are not hitting the top of the bass drum shell.
9) Floor Tom
The floor tom is the largest of all the tom drums. Locate the drum as well as the three skinny tom legs. Insert the three legs into the hardware on the floor tom and tighten them, allowing the drum to stand on the ground.
The floor tom sits to the right of your snare drum. There’s no rule on where it should lie, but I like to have it as close as possible without hitting the bass drum beater.
Similar is the height. I like to have the drum set at a height comparable to the snare drum. You can either eye it up and make adjustments or use a level to see how close you are.

10) Assembly of the hi-hat
Arguably the most complicated piece of your drum set is the hi-hat and its stand.
The hi-hat is made up of three components: the cymbals, the clutch, and the stand. Let’s set the hi-hat stand up first.
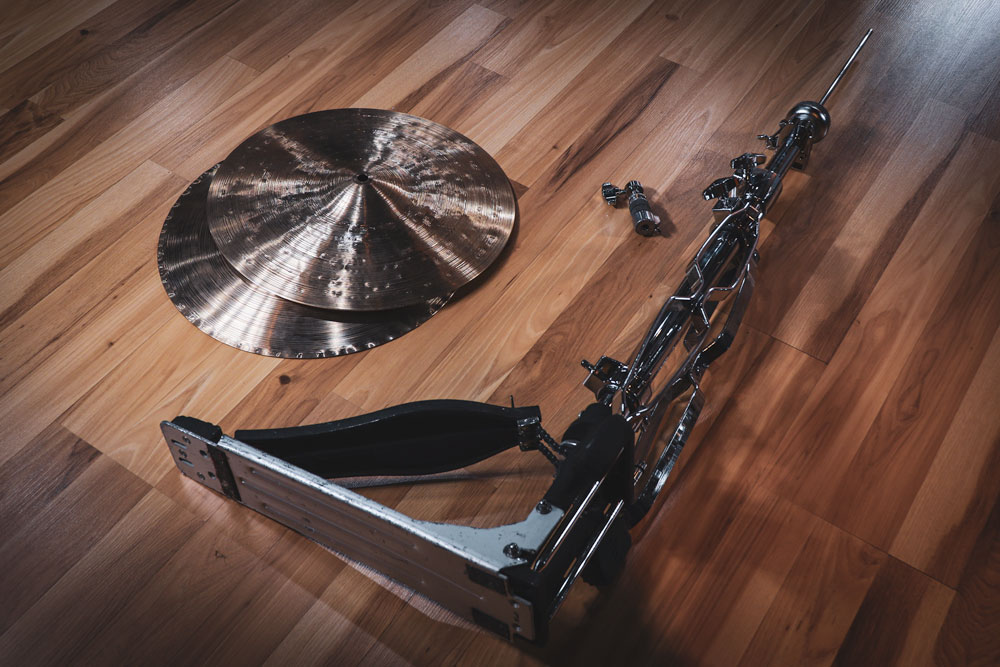
The stand features a pedal with two or three legs and a long rod sticking up at the top. Open up the legs just as we did with the snare drum stand, loosening the wingnut closest to the bottom.
If your stand isn’t pre-assembled, you need to insert the skinny rod into the top section and screw it in. Once assembled, your hi-hat stand should look like the following.
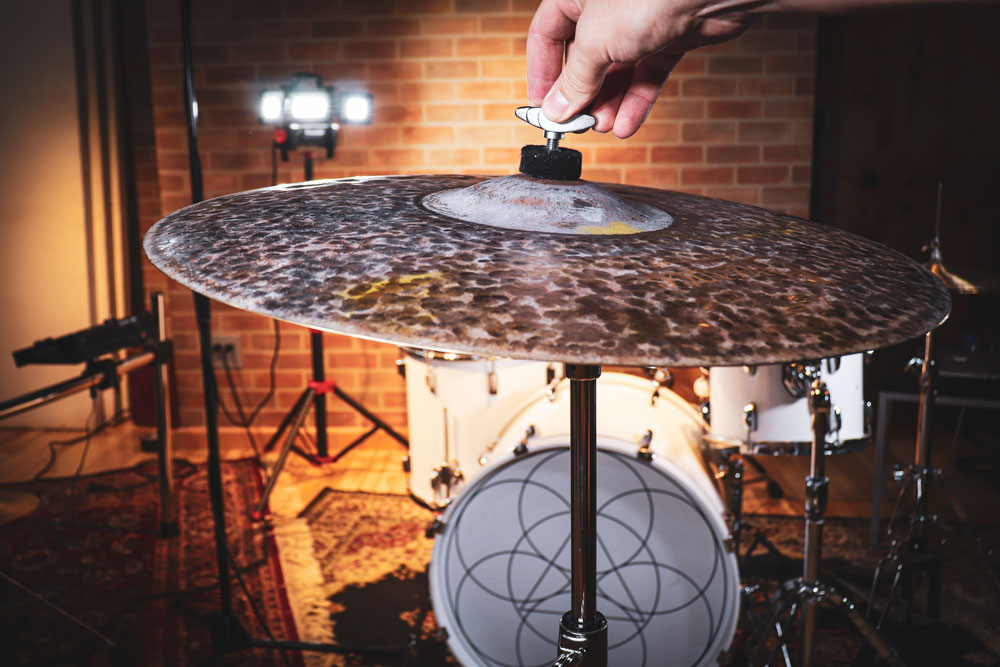
Next, grab your hi-hat clutch. The hi-hat clutch is a small piece of hardware that attaches to the top hi-hat cymbal. Identify which hi-hat cymbal is the top one. Unscrew the bottom portion of the clutch.
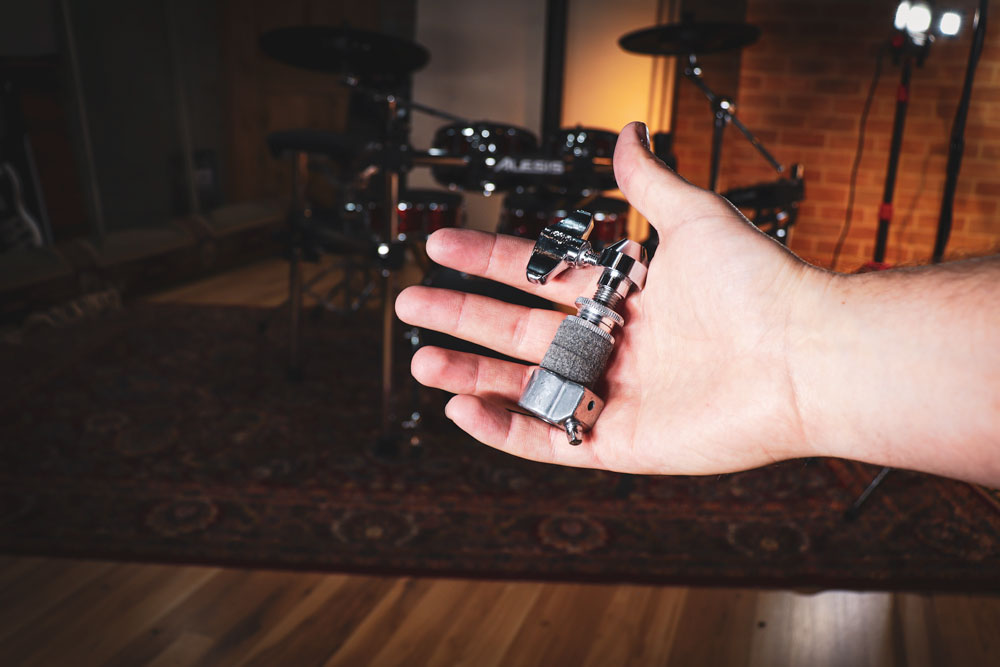
Remove the first felt washer and insert the clutch into the hole on the top hi-hat. Replace the felt washer and screw the bottom piece on. Your clutch may have a spot to use the drum key. The nut will lock the part on and keep it from coming loose.
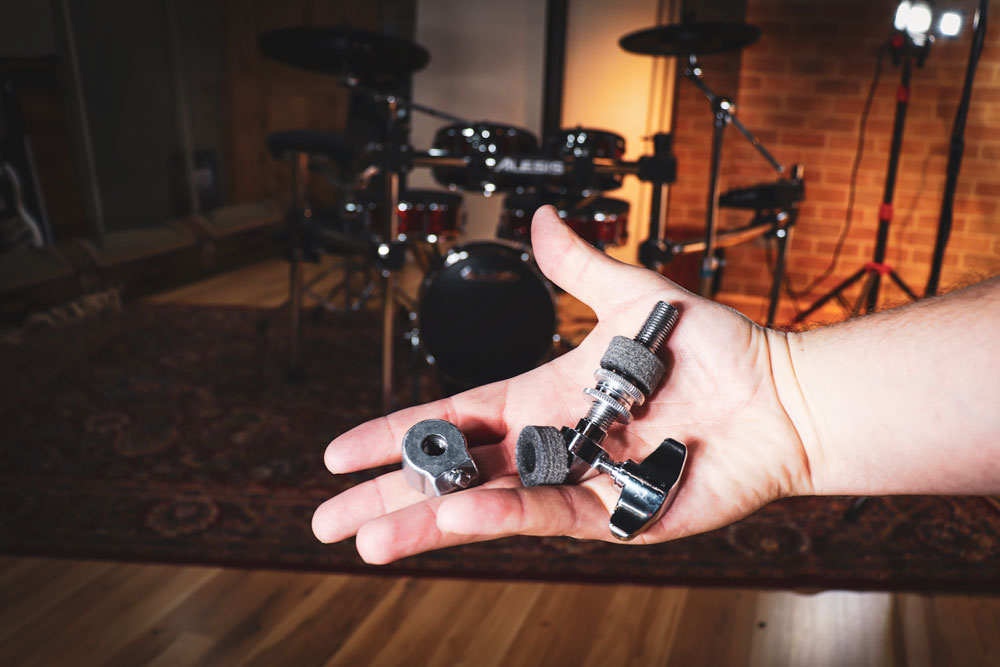
Your clutch is also most likely equipped with locking threaded discs. The top disc nut will lock set the lock setting, and the bottom will adjust the tension depending on how loose you want your cymbal to be.
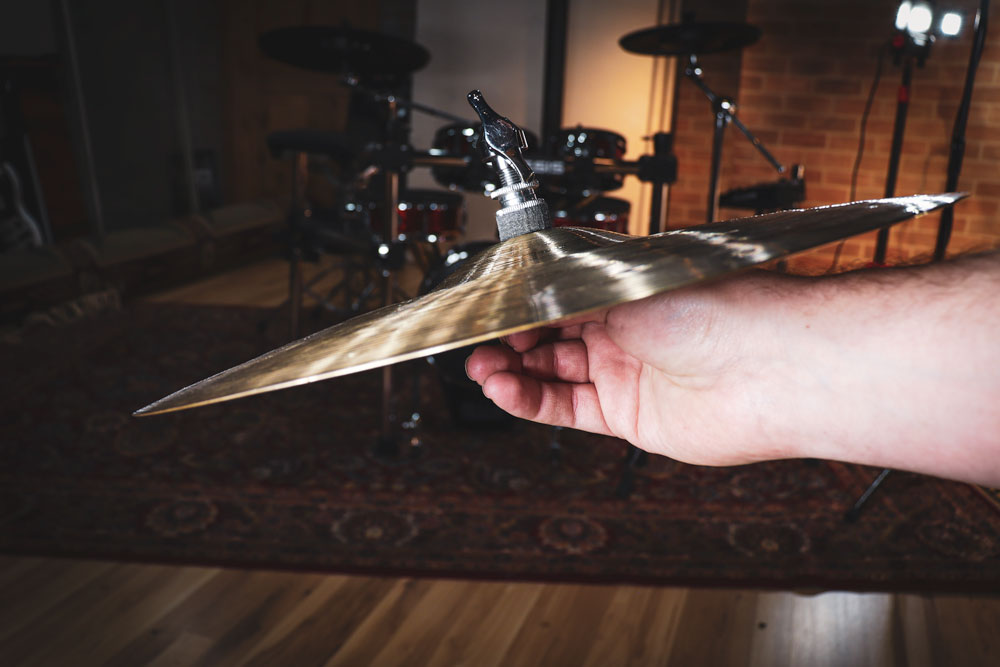
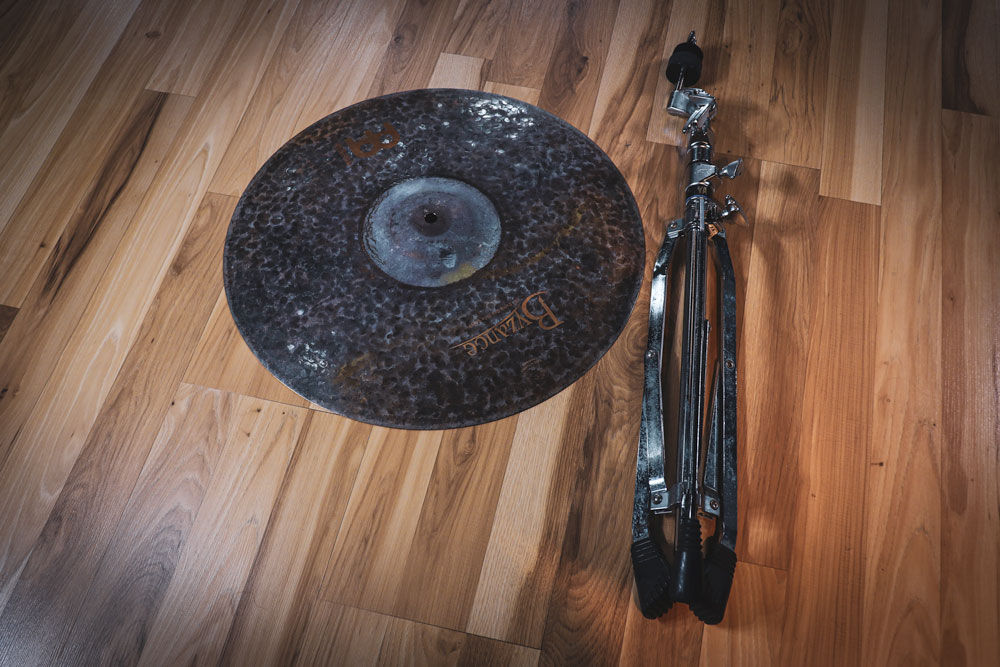
With the clutch installed, the next step is to find your bottom cymbal. Place the bottom cymbal on the hi-hat stand with the convex side facing the floor.
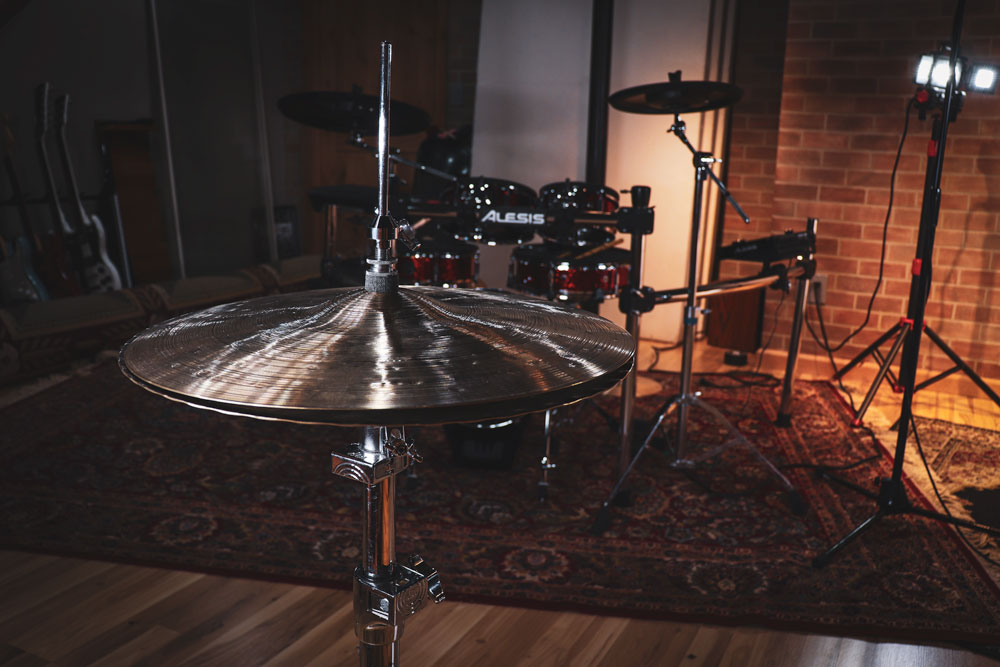
Next, place the top cymbal reverse of the bottom cymbal. To make the hi-hat functional, put a little pressure on the foot pedal, and tighten the wingnut on the clutch. Your hi-hat should be operational!
Position the hi-hat to the left of the snare drum. This placement is what most drummers use. I like to keep the pedal in line with my other foot pedal to maintain symmetry and ergonomics.
11) Grab your cymbals and stands
Assuming this is a beginner drum set, your kit most likely comes with one crash cymbal and one ride cymbal. The crash cymbal is smaller than the ride.
Cymbal stands are of two varieties: straight and boom. Boom arm cymbal stands have an additional control that allows you to angle the stand for tougher to reach spots of the drum set.
Find the straight stand and grab your crash cymbal.
Your cymbal stand legs work just like the snare and hi-hat stand. Open up the metal legs with the bottom wingnut. Using the middle wingnut, adjust the height to be somewhere above the rack tom drums.
On the top of the cymbal stands are wingnuts and felts. Unscrew the wing nut and remove one of the felts. Place your cymbal on the stand and replace the parts. You can now place your cymbal in front of your drum set.
I like to position my crash cymbal somewhere between the hi-hat and the rack tom, but it’s entirely up to you.
The other cymbal stand with the boom arm will function a little different. The third wingnut allows you to raise the stand higher, as well as rotate it on the y-axis.
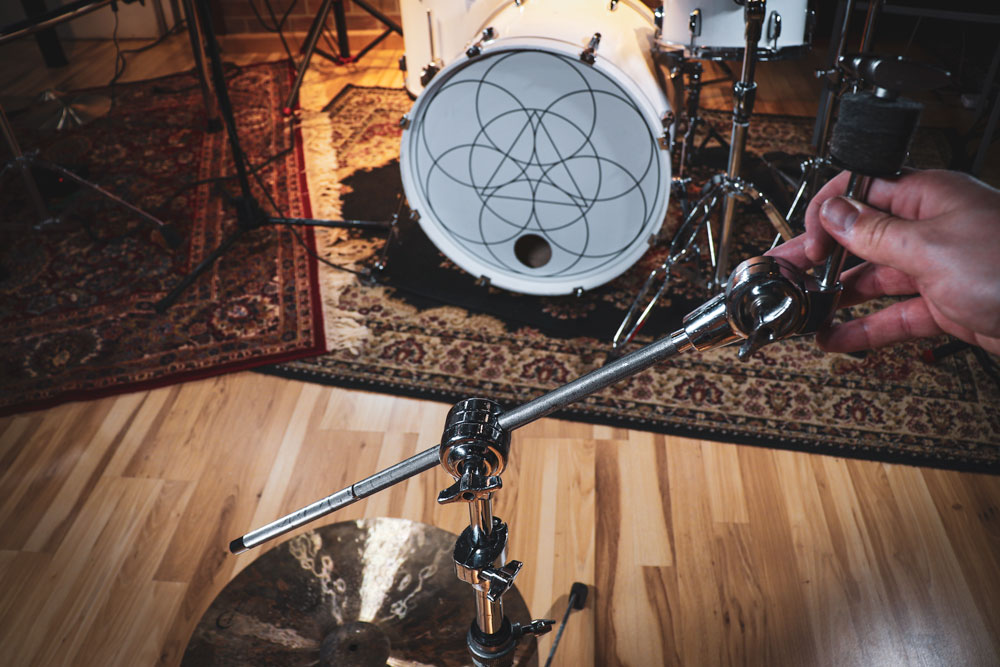
It can be a little tricky to figure out. Loosen the wingnut and pull the arm up until it can rotate. Boom arm stands allow you to position cymbals in locations that would be impossible with straight stands.
Like with the straight stand, remove the wingnut from the top piece, as well as the felt, and place your ride cymbal on the stand. Replace the felt and wingnut and get to drumming!
Your set up is complete

Congratulations! You’ve set up your first drum set! Let me know if you had any issues in the comments down below. If there is something you can’t figure out, feel free to contact me and I’ll do my best to help! Thanks for reading.


great guide, that even a vet can appreciate!
nice cymbals!
0
Thanks, Ben!
0